


Step-by-Step Installation Tips for a Perfect Above-Ground Swimming Pool
By aupool | Date:
2024-10-21 | 783
read
When you decide to install an above-ground swimming pool, it may be a very strenuous project, but in truth, it is quite easy to do and, I believe, enjoyable!
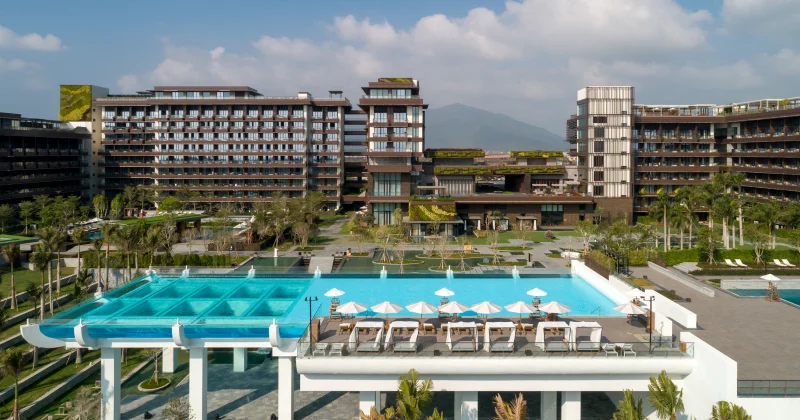
You can spend long, sunshine days relaxing by the pool or hosting the best backyard barbecues in the community; this guide will have all the steps to ensure you put up your pool without worry.
Even though the main focus is pool installation ideas on a budget, let’s spend a few moments explaining why people love above-ground pools. First off, they are inexpensive. Inground pools require considerable funds, but with an above-ground pool, you can have the same refreshing fun without spending too much.
Another significant advantage is the easier installation process. The construction of an inground pool requires heavy machinery and sometimes takes months to complete, whereas an above-ground pool can be placed in a few days if there is a good plan and efficient execution.
Now that we are all positive about this project's feasibility, let's zero in on the key stages of installation and get you straight to the poolside.

Planning and Preparation: Gathering Resources and Navigating Regulations
As with all great undertakings, there is a need to plan. For instance, it would be impractical to begin preparing a cake before all the necessary ingredients have been gathered. It follows, therefore, that the same will apply to pool installation.
So, before you move, let’s start collecting the right equipment and materials.
Essential Tools and Materials
- Sand: Used as the foundation base to create a smooth surface.
- Pool Liner: A flexible layer that holds water within the pool structure.
- Pool Frame: The metal or resin skeleton that supports the pool.
- Shovel and Rake: For site leveling and ground preparation.
- Tape Measure: To ensure precise measurements for the pool site.
- Level: To guarantee an even surface.
- Water Treatment Kit: To balance the chemicals in your pool once filled.
Permits and Local Regulations
Finding out what permissions or laws your community may require before you start construction is crucial. Certain requirements may apply to each city or municipality regarding:
- Fencing around the pool area for safety.
- Electrical codes if you're adding a filter or heater.
- Zoning estrictions that determine pool placement.
Budget Planning and Scheduling
Going for an above-ground pool has various benefits, but your pool project won't go through due to unexpected costs if you set a reasonable budget. Here's how to make a good plan:
- Budget for materials: Include pool kits, decking, fencing, and maintenance supplies. Remember to factor in their typically higher costs if you're considering options like inground pools for small backyards.
- Factor in installation time: While an above-ground pool installation can typically be done over a weekend, delays can happen. Set a reasonable timeline to avoid rushing the process.

Site Selection and Leveling: Choosing and Preparing the Perfect Pool Location
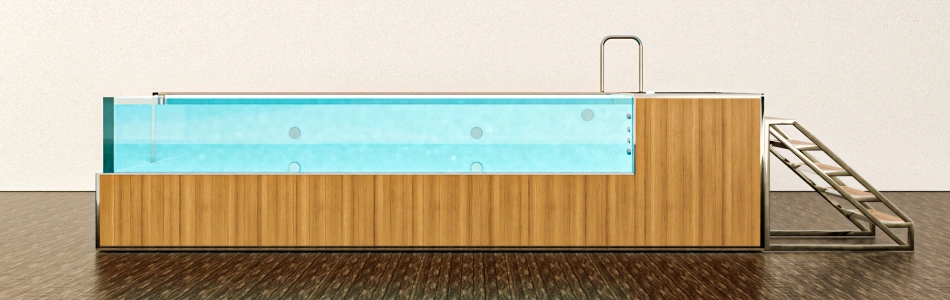
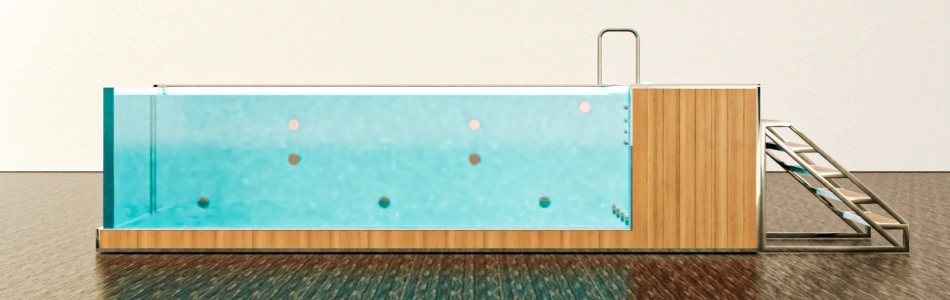
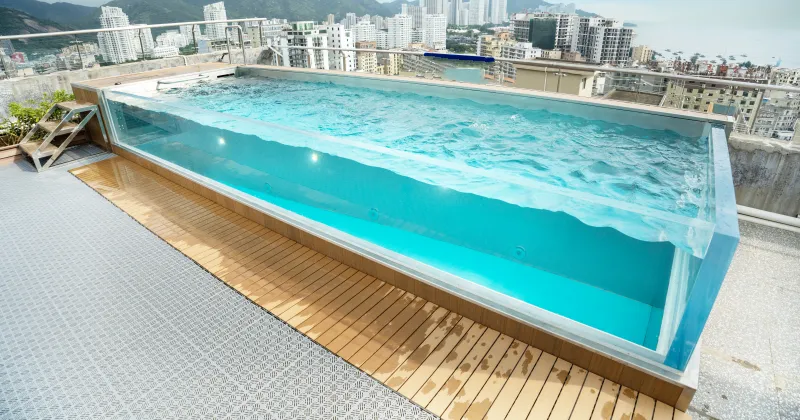
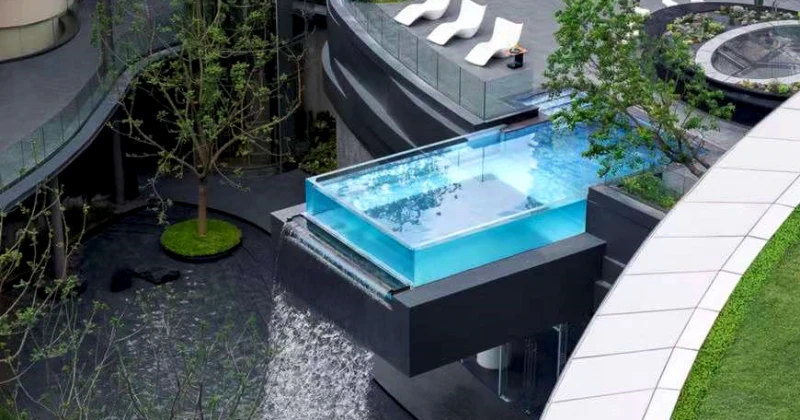
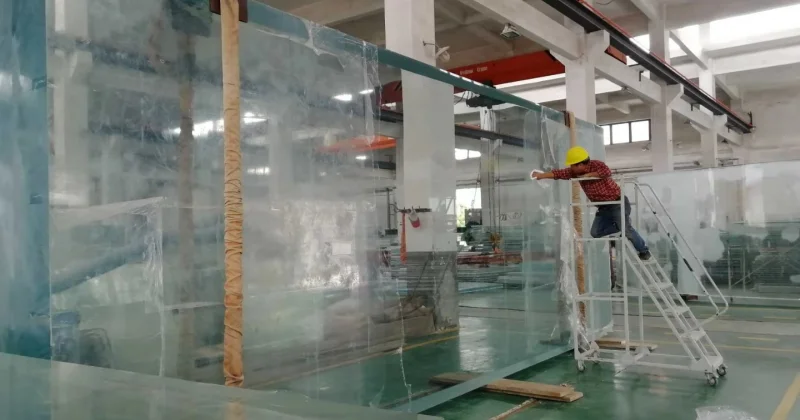
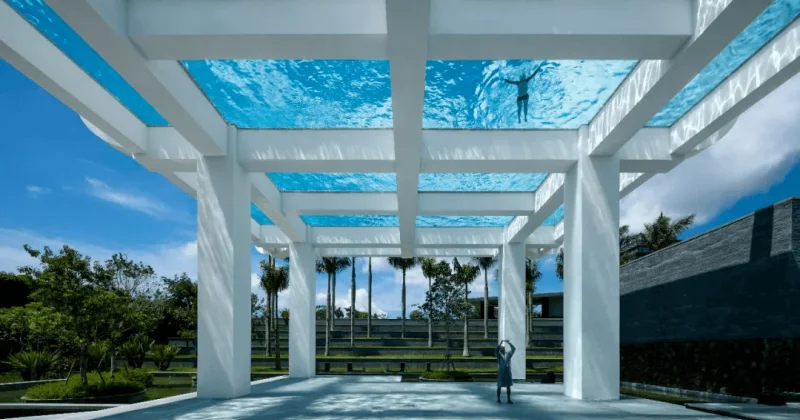
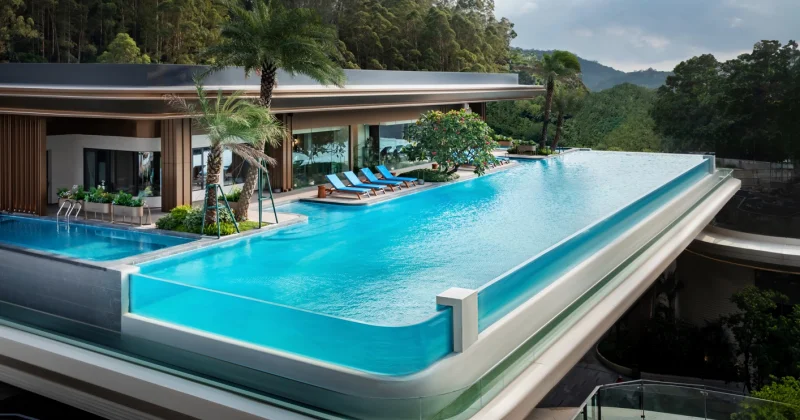
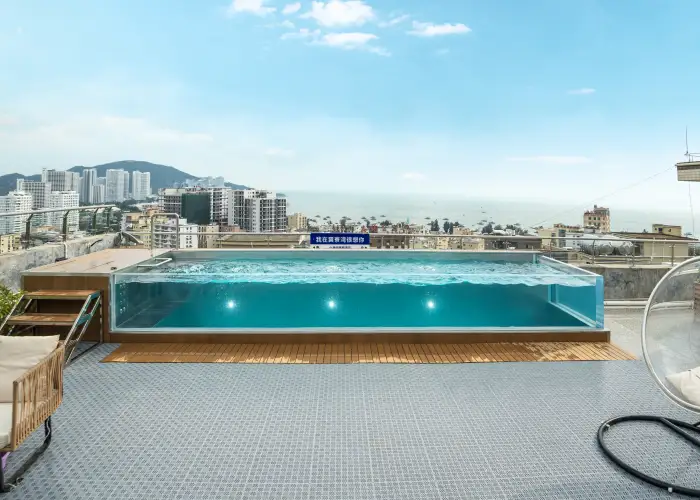
You can go for a glass wall pool to add more aesthetics and class. However, choosing and preparing a suitable location for the pool is important because it can significantly impact the whole structure's longevity and efficiency.
Ideal Location Characteristics
The location must be level, open, and receive as much sunlight as possible. Also, you can easily avoid paying high energy costs because most pools heat and maintain water largely from solar radiation. Furthermore, you must take into account these additional factors:
- Distance from trees: This ensures that no leaves or branches fall into the pool.
- Safety: Ensure the open space is away from electric wires or underground pipes.
- Accessibility: Select a spot that is easily accessible for both enjoyment and maintenance.
Ground Leveling Methods
After this step, it is time to begin the leveling process, which is crucial to ensuring the pool site is well constructed.
- Outline the perimeter of the pool: Mark the intended place with sticks and string.
- Excavate the site: To provide a level foundation, turf and earth should be removed. High spots must be dug out instead of low spots being filled.
- Place sand: Place a flat, uniform layer of sand over the bottom surface of the pool liner and help with the drainage process.
- Level check: To make sure there are no unevenly completed areas on the site, a level should be employed throughout its surface.
Avoiding Site Errors
Frequently made errors in the preliminary work are the following ones:
- Uneven ground: This can lead to an eventual slanting or even collapse of the pool.
- Poor drainage: If insufficient drainage occurs, water may pool around the pool, causing metal parts to rust or erode.

Assembling the Pool Structure: Building a Strong and Reliable Frame
Since no two pool types are the same, it is crucial to follow the professional's instructions. Failure to adhere to these instructions may lead to the insufficiency of the pool unit.
Building the Pool Frame Step-by-Step
- Lay out the frame pieces: Build the bottom rails first, then attach the applied channel to the uprights.
- Install the wall: If your pool has a metal wall instead, roll it out and secure it to the lower rail.
- Install top rails: Attach the top rails to the uprights, forming a sturdy structure.
Enhancing Durability
To increase its durability:
- Reinforce joints: All bolts and connections should be very tight where they have installed the structures.
- Add extra support: Use more bracing or supports in regions with strong winds or uneven ground.
Installing the Pool Liner: Achieving a Smooth and Secure Liner Fit
It is evident that the pool liner is an essential accessory as it contains water and prevents leakages. There are various types of liners available, such as vinyl and PVC. Each offers a different level of durability and aesthetics.
For optimal results when fitting the liner, always start in the middle and work your way out in either direction, flattening any creases or bulges.
The idea is to make the fit seamless so that water cannot leak out or collect increases. Additionally, verify that the liner is the right size and that it is correctly positioned relative to the pool walls.
Ensuring that the liner is securely fastened and that it is not misaligned will contribute to a leak-free surface and maintain the pool's status.

Filling and Treating the Water: Safe Practices for Pool Filling and Water Maintenance
After the structure and liner have been successfully installed, the next step is to fill the pool with water.
Techniques for Filling the Pool Safely
To prevent damage during filling:
- Fill slowly: Take your time, and in the beginning, just add a few inches of water while smoothing out any wrinkles that could have been left behind.
- Monitor water flow: Keep the water flow reasonably and try not to increase it too much because it can put tension on the liner.
Water Treatment Basics
The pool can now start receiving maintenance when it has been filled with water:
- Examine the water : Pool testing kits will check the level of PH, alkaline, and chlorine, among other substances.
- Chemical application: Balance the pool's chemical levels to prevent bacteria and algae.
Safety Precautions
- Check the water pressure: Do not use high-pressure hoses, as they will stress the basin walls.
- Monitor during filling: Keep an eye on the pool to catch any issues early on.

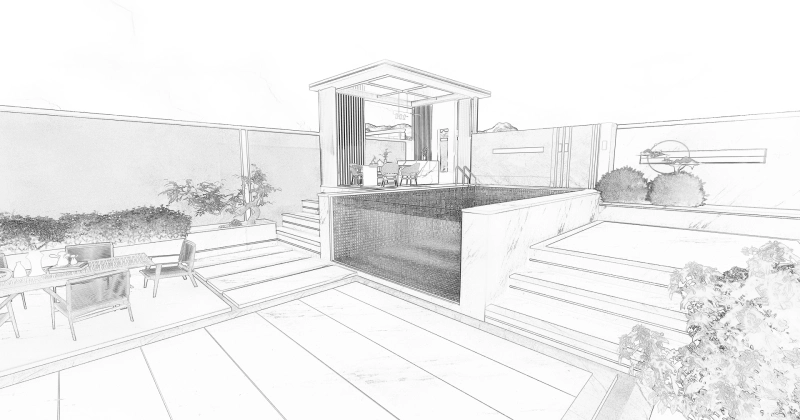
Adding Finishing Touches: Enhancing Your Pool Area with Style and Functionality
Now comes the fun part—personalizing your pool space!
Decking and Landscaping Ideas
An appropriately designed deck enhances the swimming pool area's functionality and aesthetic appeal.
- Wood decking: Creates a natural and rustic vibe.
- Pavers: Offers a modern, durable alternative.
- Landscaping: Add plants and shrubs for a lush and inviting look.
Choosing Lighting and Accessories
- Pool lighting: Soft but stylish LED lights can bring charm and a warm color to night swimmers.
- Furniture and umbrellas: Provides sitting space and protects from sunlight.
- Accessories: You may add toys, floats, or a bar by the pool.
Establishing a Calm Ambience
To make the pool area more relaxing for you and your loved ones, add furnishings and décor. You can also add outdoor sound systems.

Maintenance Tips: Establishing a Routine and Troubleshooting Common Issues
You must pay keen attention to proper maintenance as it extends the service life of swimming pools and ensures safety.
Regular Maintenance Routine
- Clean the pool: Vacuum once a week, brush the walls and floor, and skim every bit of debris.
- Water testing: Weekly chemical balance checks of the water are necessary to guarantee a safe swimming environment.
Seasonal Maintenance Adjustments
- Summer: It's crucial to clean more frequently due to increased use.
- Winter: Winterize the pool by covering it and balancing the water chemicals.
Common Issues and Solutions
- Holes and cracks: Insufficiently patched holes cause leaks to be repaired with a pool repair kit.
- Algae: Use algaecide and shock treatments to kill unwanted growth.
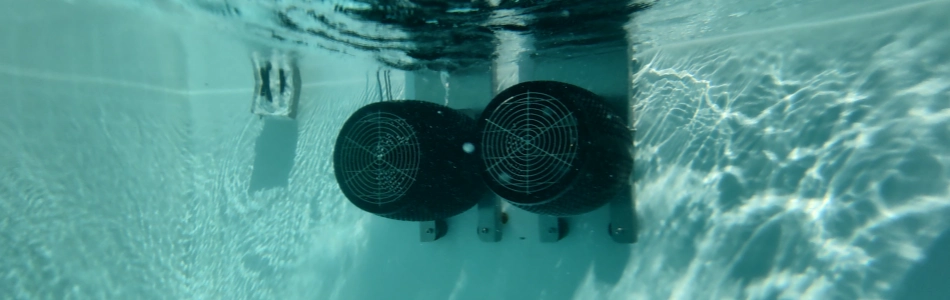
- Equipment failure: Regularly check your filter and pump to catch problems early.

Last Say!
To create a functional and beautiful elevated pool, follow these steps from planning and construction to site preparation, pool assembly, liner installation, and filling. Opting pool installation ideas on a budget can help you change the overall look and functionality of your pool area.
Additionally, regular maintenance ensures the pool remains in good condition after construction. By providing routine maintenance to keep your new backyard oasis in top condition after installation, you and your family may enjoy your new backyard oasis to the fullest.
For expert insights and assistance on the installation process for an above-ground pool, visit AUPool. Their huge range of above-ground swimming pool ideas can help make your dream pool a reality.


